Hiking to Hanakapi’ai Falls in Kauai with Kids
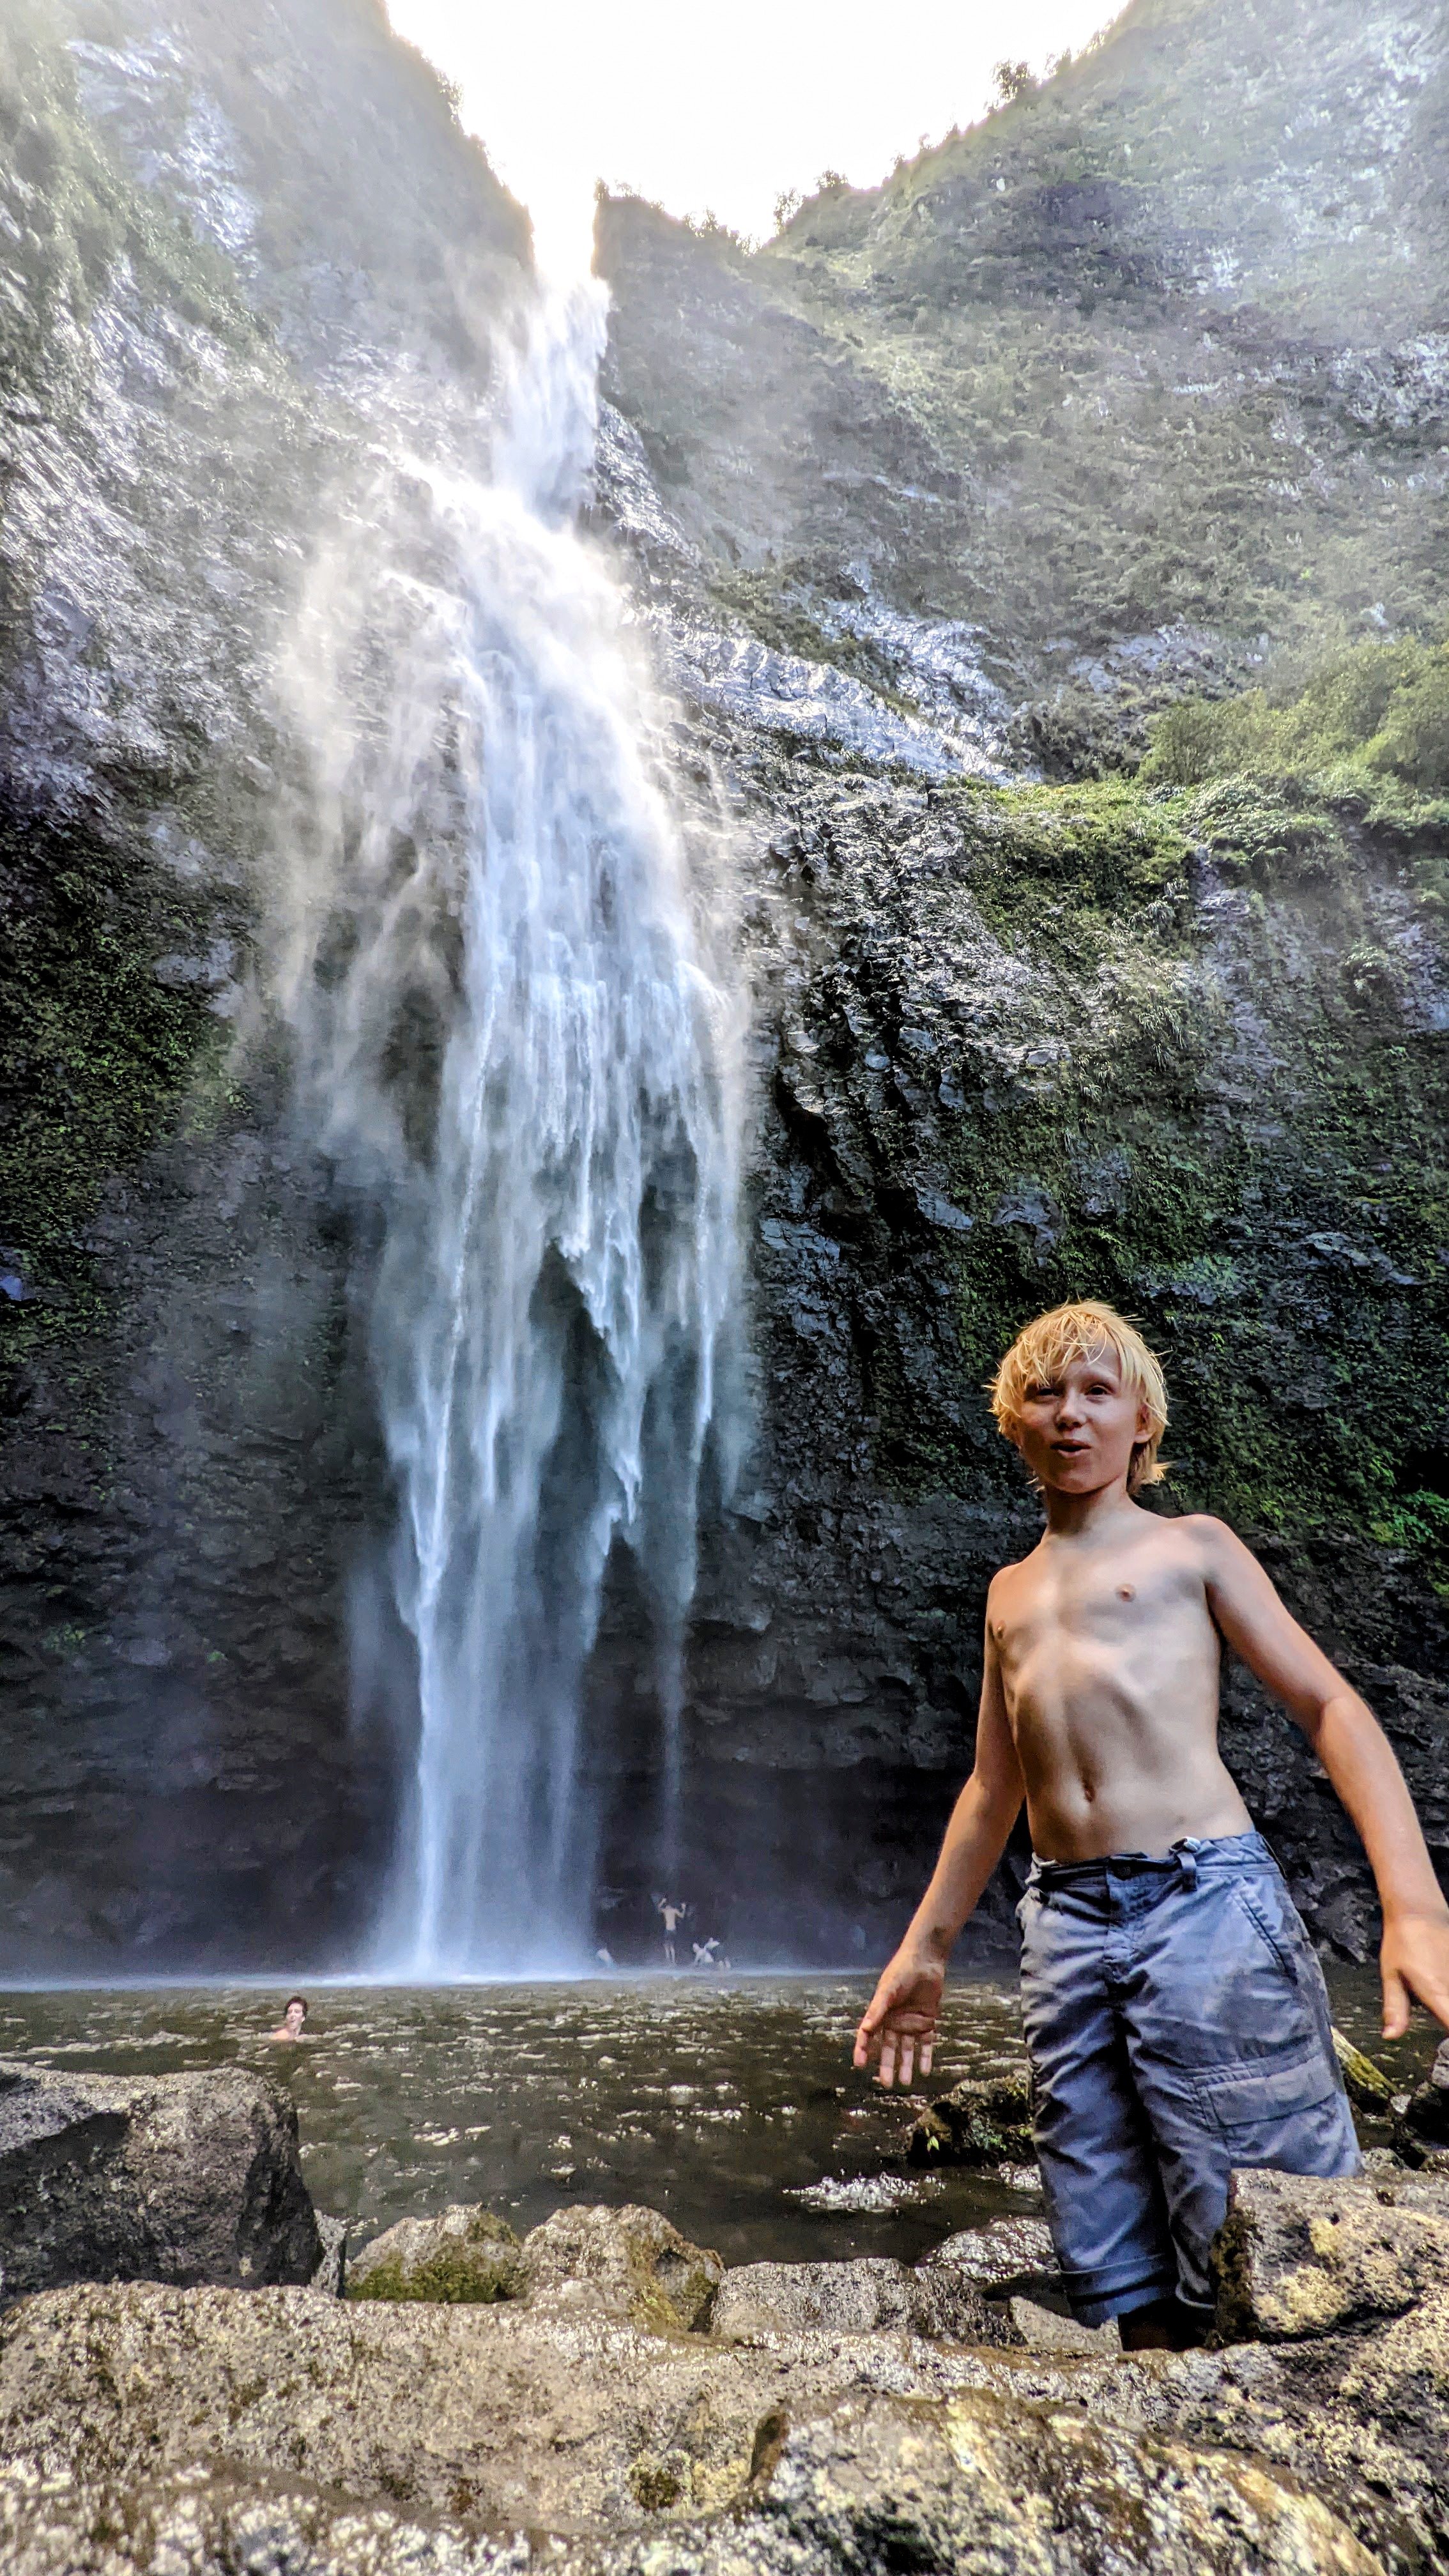
Gus Sizing Up the Swimming Hole at Hanakapi’ai Falls, Kauai Hawaii
Trailhead:
Located at Ha’ena state park. Park in the parking lot and follow signs to the Kalalau trail.
Length:
Around 8 miles total out and back
Elevation change:
2400 feet
Difficulty:
Hard

The Na’Pali Coast from the Kalalua Trail to Hanakapi’ai Beach
The Trail:
The first portion of the hike is along the Kalalua trail along the Na’Pali coast. This portion of the hike is 3.7 miles out and back and has 1200 feet of elevation change. The trail is well maintained and only has a few slightly muddy sections. There are some steep drops along the trail but the trail is plenty wide enough in those sections to feel safe. Watch out for some slippery steps along the trail.
After crossing the stream and reaching Hanakapi’ai beach, you head inland for the trail to the falls. This portion of the trail is much more technically difficult and ascends the valley to end at Hanakapi’ai falls. The trail winds up the valley through bamboo groves and old growth jungle. You will be rewarded at the end of this hike with a spectacular 300 foot waterfall and a refreshingly cool pool below the falls. You will then turn around and take the same trail back to the parking lot. Descending the valley is slightly easier on the way out, but, given the up and down nature of the coastal portion of the trail, it is just as difficult on the way out as it is on the way in.
Payout:
10/10. The falls are Epic and the views of the Na’Pali coast are also spectacular.

Wendi and Gus Enjoying the Invigorating Waters at the Base of Hanakapi’ai Falls
Permits:
Advanced reservations are required to enter the state park unless you are a Hawaii resident. You can get a day pass only for 45 (if you are riding with a Hawaii resident), an entry and parking pass combo for $15, or a shuttle and parking pass for $35. I got our reservations the week before and all that was available was the shuttle/entry pass combo. Since we were doing the hike with a Hawaii resident, I called to ask if we could skip the shuttle and ride with him. Surprisingly, they said “no”. If you get the combo, you have to ride the shuttle to enter. We were lucky to get tickets at all and I would not recommend waiting until the week before to get your tickets. We were there during the off season and the effects of COVID were still keeping the tourist levels low. Normally, you cannot count on getting your tickets the week before your trip.
Reservations become available at 12:00 AM HST 30 days in advance. If I was planning a trip, I would set an alarm and get online at exactly 12:00 AM HST to reserve my tickets. If you want to hike further up the Na’Pali coast, you have to get a camping permit and those are available 90 days in advance at 12:00 AM HST.
So, how hard is the trail?
This trail is hard. When I read other reviews of the trail, this point was emphasized repeatedly. At 8 miles, with about 2400 feet of elevation gain, there is enough distance and elevation to make it difficult, but those two things alone really don’t account for the overwhelming sentiment that this trail is “very challenging”. Despite multiple warnings from other hikers, we set out for this hike with our 9 year old. We knew it was going to take us a while and planned to spend the whole day hiking. To be clear, if you are reading this and you don’t know us, our 9 year old is tough as nails, very physically active, and has spent his whole life keeping up with a brother 5 years older than him. We saw several other families hiking to Hanakapi’ai beach, but didn’t see a single other kid under the age of 15 on the trail to the falls. Multiple other fit adult hikers that we encountered on the trail commended Gus as we passed.
So, what makes the trail to the falls so difficult?

A Stream Crossing with Relatively Low Water Levels
1. Stream crossings
While doing this trail, I was very glad that my child had spent 1,000 hours playing in creeks and rivers in Kentucky. After the first crossing before the beach, the trail map indicates 3 additional stream crossings. This was inaccurate. There were two additional stream crossings in between the first and second ones indicated on the map, for a total of 5 major stream crossings. (This is not to mention crossing multiple smaller secondary streams/washes along the way). The stream was flowing pretty fast and was waist deep in parts, which made these quite challenging. People were using several different strategies for crossing the streams. Some people were just wading across with shoes on, which removes the danger of slipping and falling off a rock but leaves you hiking in wet shoes. Others were wading with shoes off, which solves the wet shoe problem but requires a lot of additional time to remove your shoes and put them back on. The third strategy, and the one we employed, was jumping from rock to rock and avoiding the water. This strategy is better suited to our skill set since we have a lot of experience jumping from rock to rock in creeks and boulder fields in Kentucky. Additionally, with Gus weighing in at 65 pounds, battling the deeper and stronger current would have been difficult for him. The downside is that you run the risk of slipping and falling and breaking a wrist or a leg. The stream crossings are the most challenging and technical part of the hike. For this reason, I would not recommend young children or people with instability issues attempt this hike. Additionally, you should NEVER ATTEMPT THIS HIKE IN FLASH FLOOD CONDITIONS! Most people who have died on the Na’Pali coast trail have died from drowning. Assess the river at the first crossing and do not proceed if the water is high. If you find yourself stuck on the other side, wait it out and do not attempt to cross while the river is rushing.
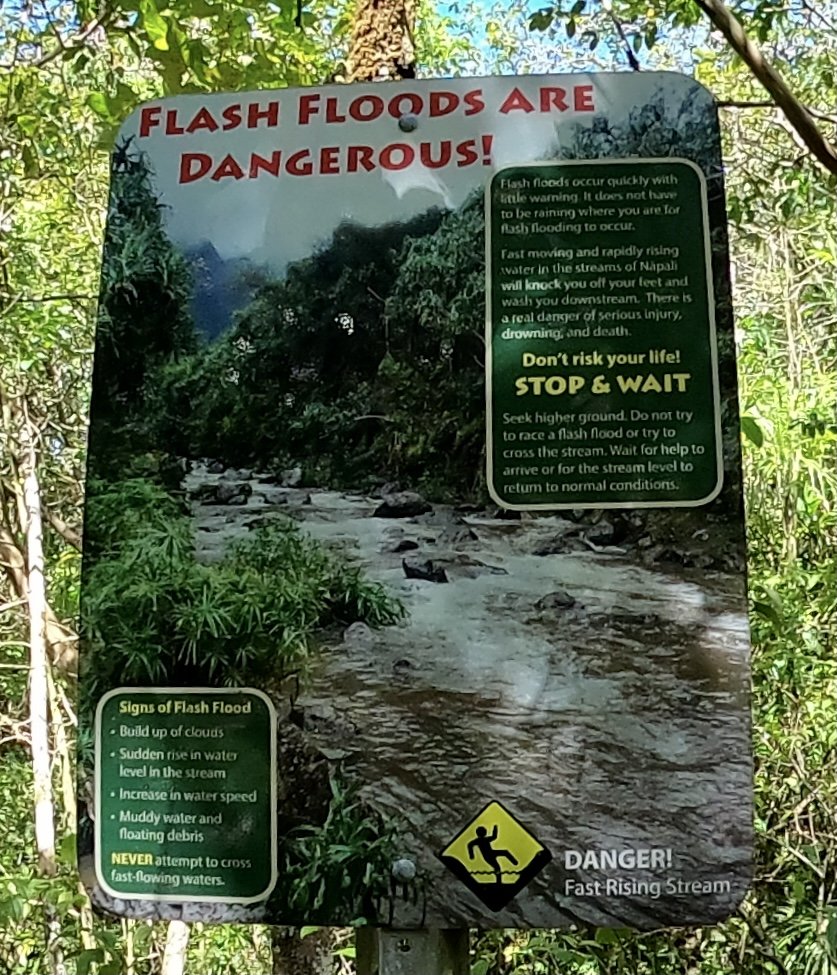
Warning Sign at the Stream Crossing Reminding People to Look for Signs of Rising Water and Not Take Risks Crossing the Stream
2. Muddy, slippery trail
This is a rainforest and things are always damp. We lucked out with a rare sunny day in the beginning of March, but the trail was still very muddy in parts. The mud really increased the work of hiking because you either had to battle getting your shoes stuck in the icky stuff or try to work your way around the mud.

The Muddy Trail Immediately Following a Stream Crossing, Hanakapi’ai Falls Trail
3. Roots
I love a rugged trail that requires extra foot work and this one offers a great challenge on this front. You have to watch your step carefully throughout the hike and are constantly stepping over roots and winding your way along the trail.
4. A few tough scrambles
There are a few parts near the end of the trail that require you to scramble up (and then back down on your way out) slippery rocks and along a few narrow ridges of rock.

A Break Towards the End of the Day with Everyone in Good Spirits but Looking Wiped, Hanakapi’ai Kauai HI
5. Sustainability
There is no easy part of this hike. The challenges are sustained throughout with the toughest part of the hike being the last 2 miles before the waterfall.

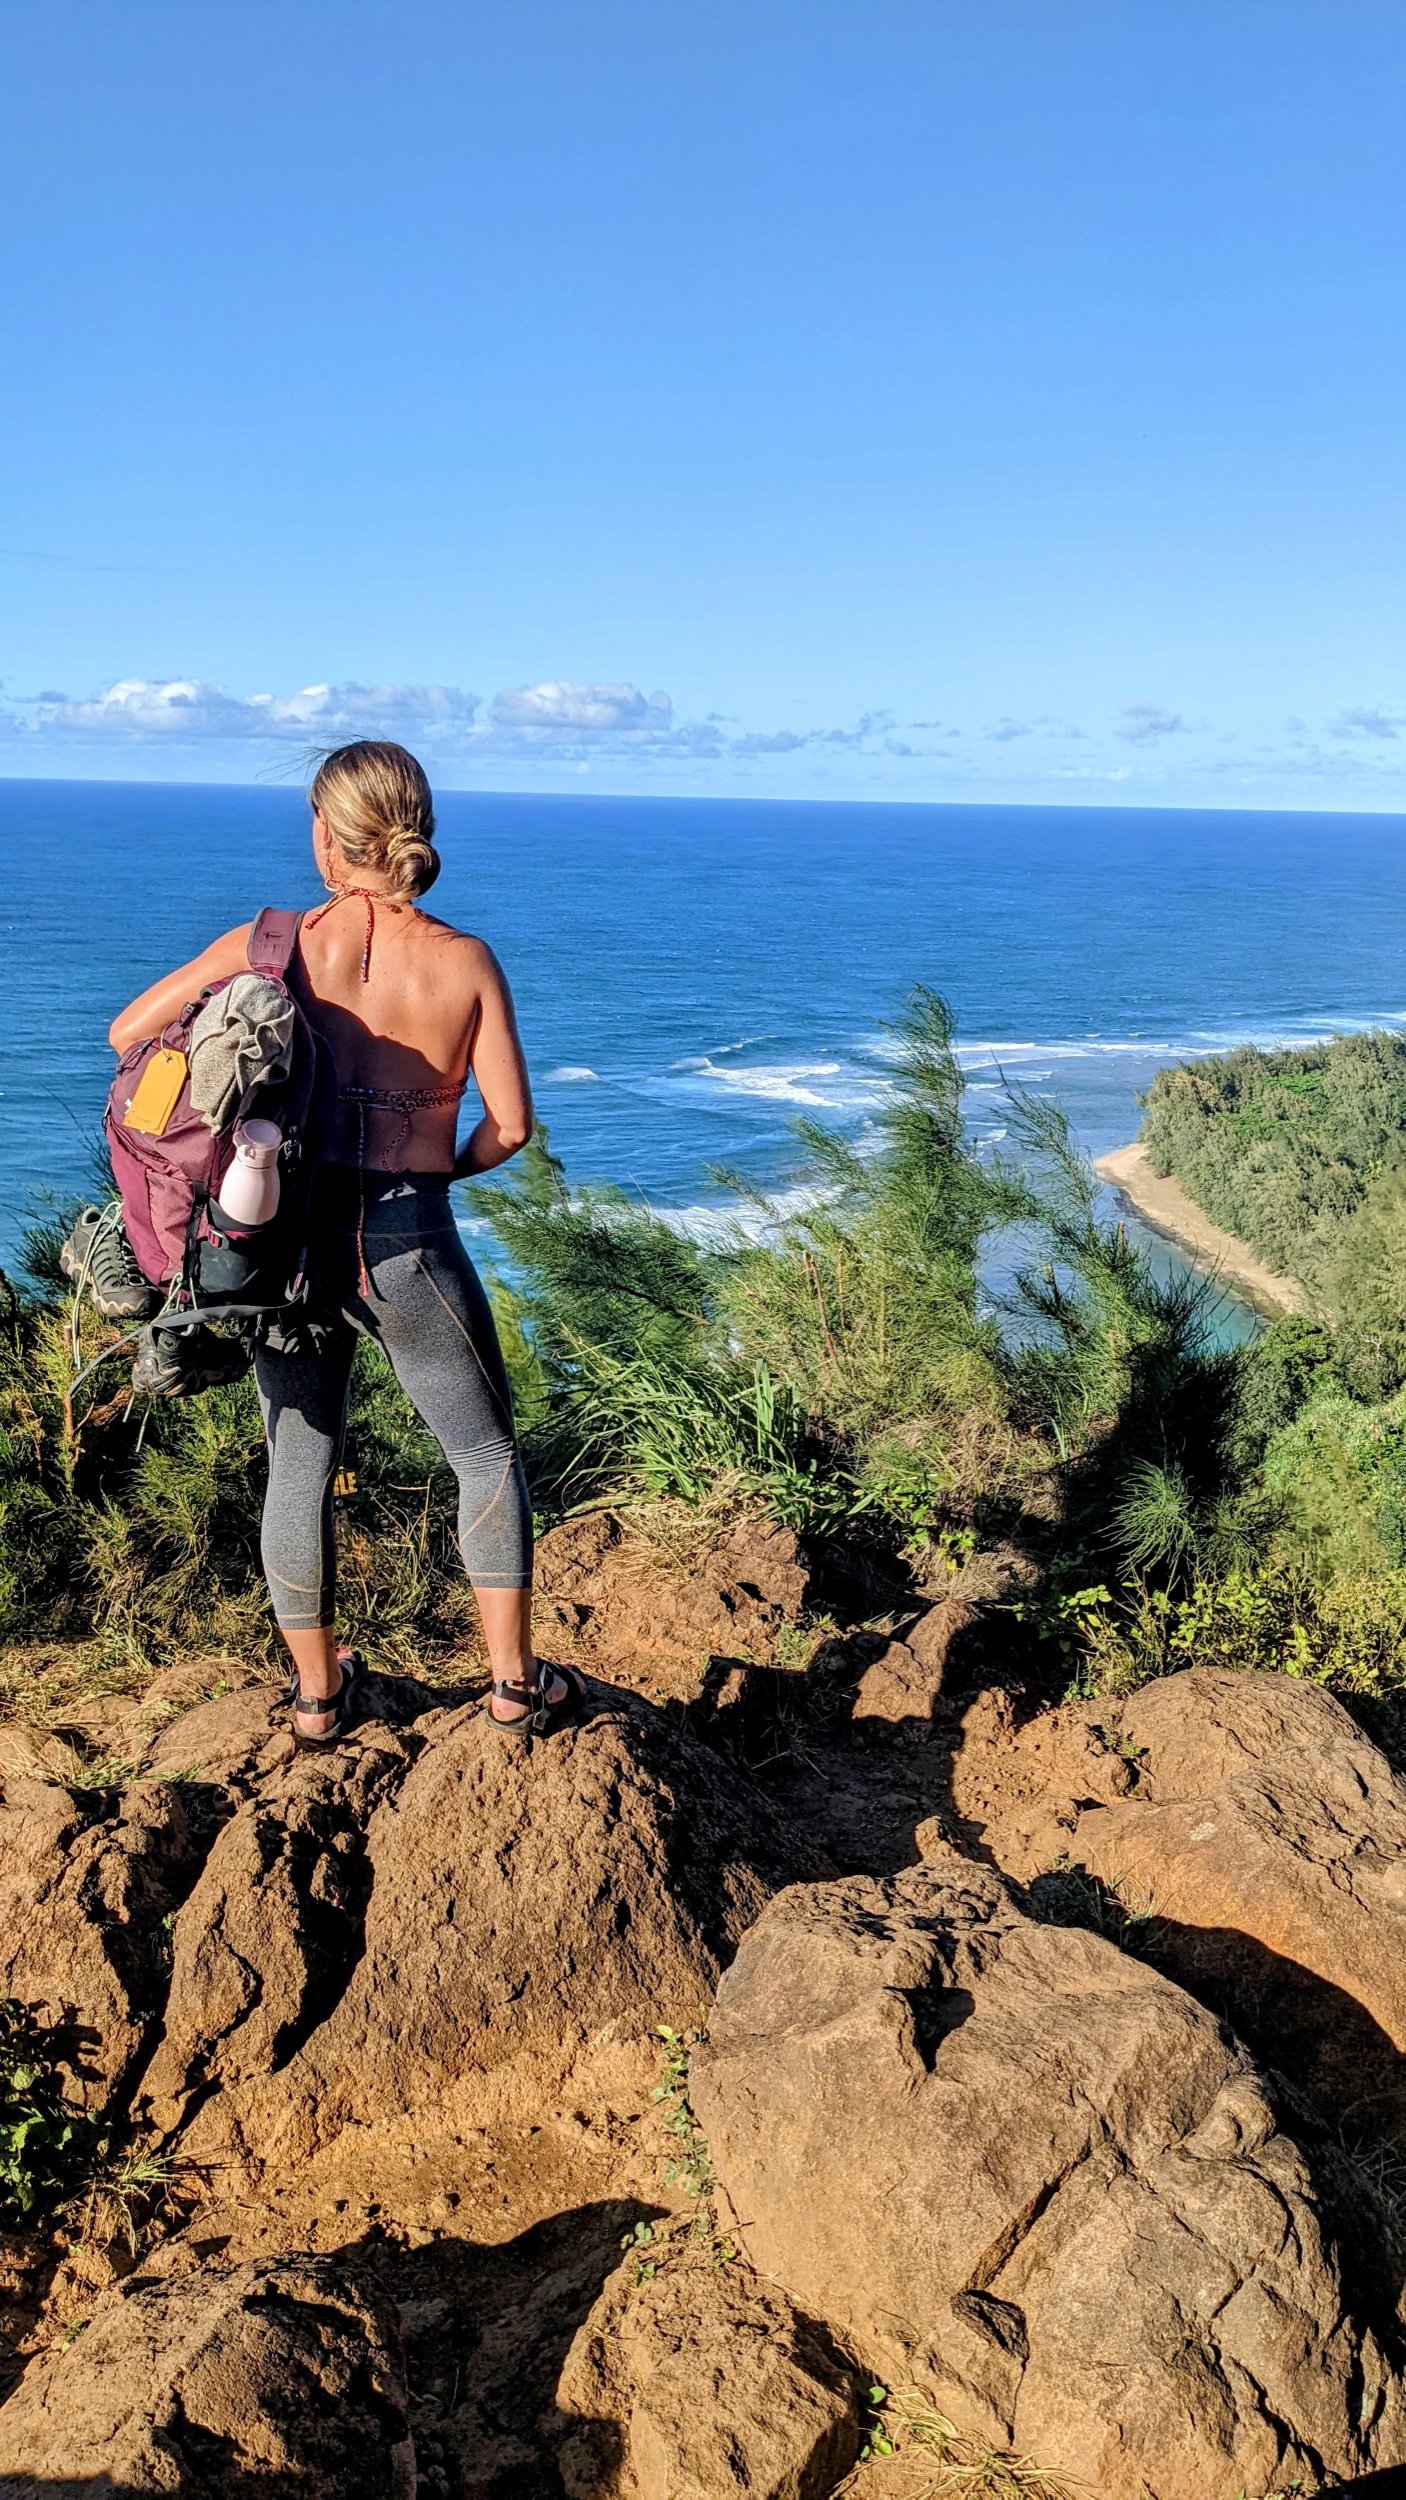
The First Segment of the Trail with Great Views of the Na’Pali Coast
Should you do this hike with kids?
I LOVED this hike. The Na’Pali coast is amazingly beautiful and the 300 foot waterfall surrounded with sheer, green covered cliffs, with the sun shining over the top of the falls and seabirds circling in the air, is incredibly beautiful. The reward of reaching the falls was epic. I also love a challenging trail and find scrambling over rocks and avoiding roots fun. With type 2 fun, however, it’s always hard to find the right balance of pushing your kids but not pushing them so hard that they are miserable or in real physical pain. Bailey, our 12 year old daughter, wasn’t mentally up for this hike and we left her behind. She could have done it, but I knew she wasn’t in the right mindset that day and I let her stay behind. Gus (9) and Wilson (14) both wanted to come and said they liked the hike and were glad they did it despite the physical difficulty.

Gus Putting on Shoes After Playing in the Hanakapi’ai Creek
As a general rule, this hike is for experienced hikers of any age. If your kid has done a lot of hiking and 8 miles with 2400 feet of elevation change is in their range, you could consider doing this hike with them. Just be aware that they will have to do several dicey stream crossings and only attempt this hike if that is something you trust them to do. While you could potentially carry your kids across the streams, I wouldn’t recommend it. There are also a few steep drops along the coast line and you will need to trust them to follow directions and not do anything stupid during those portions.

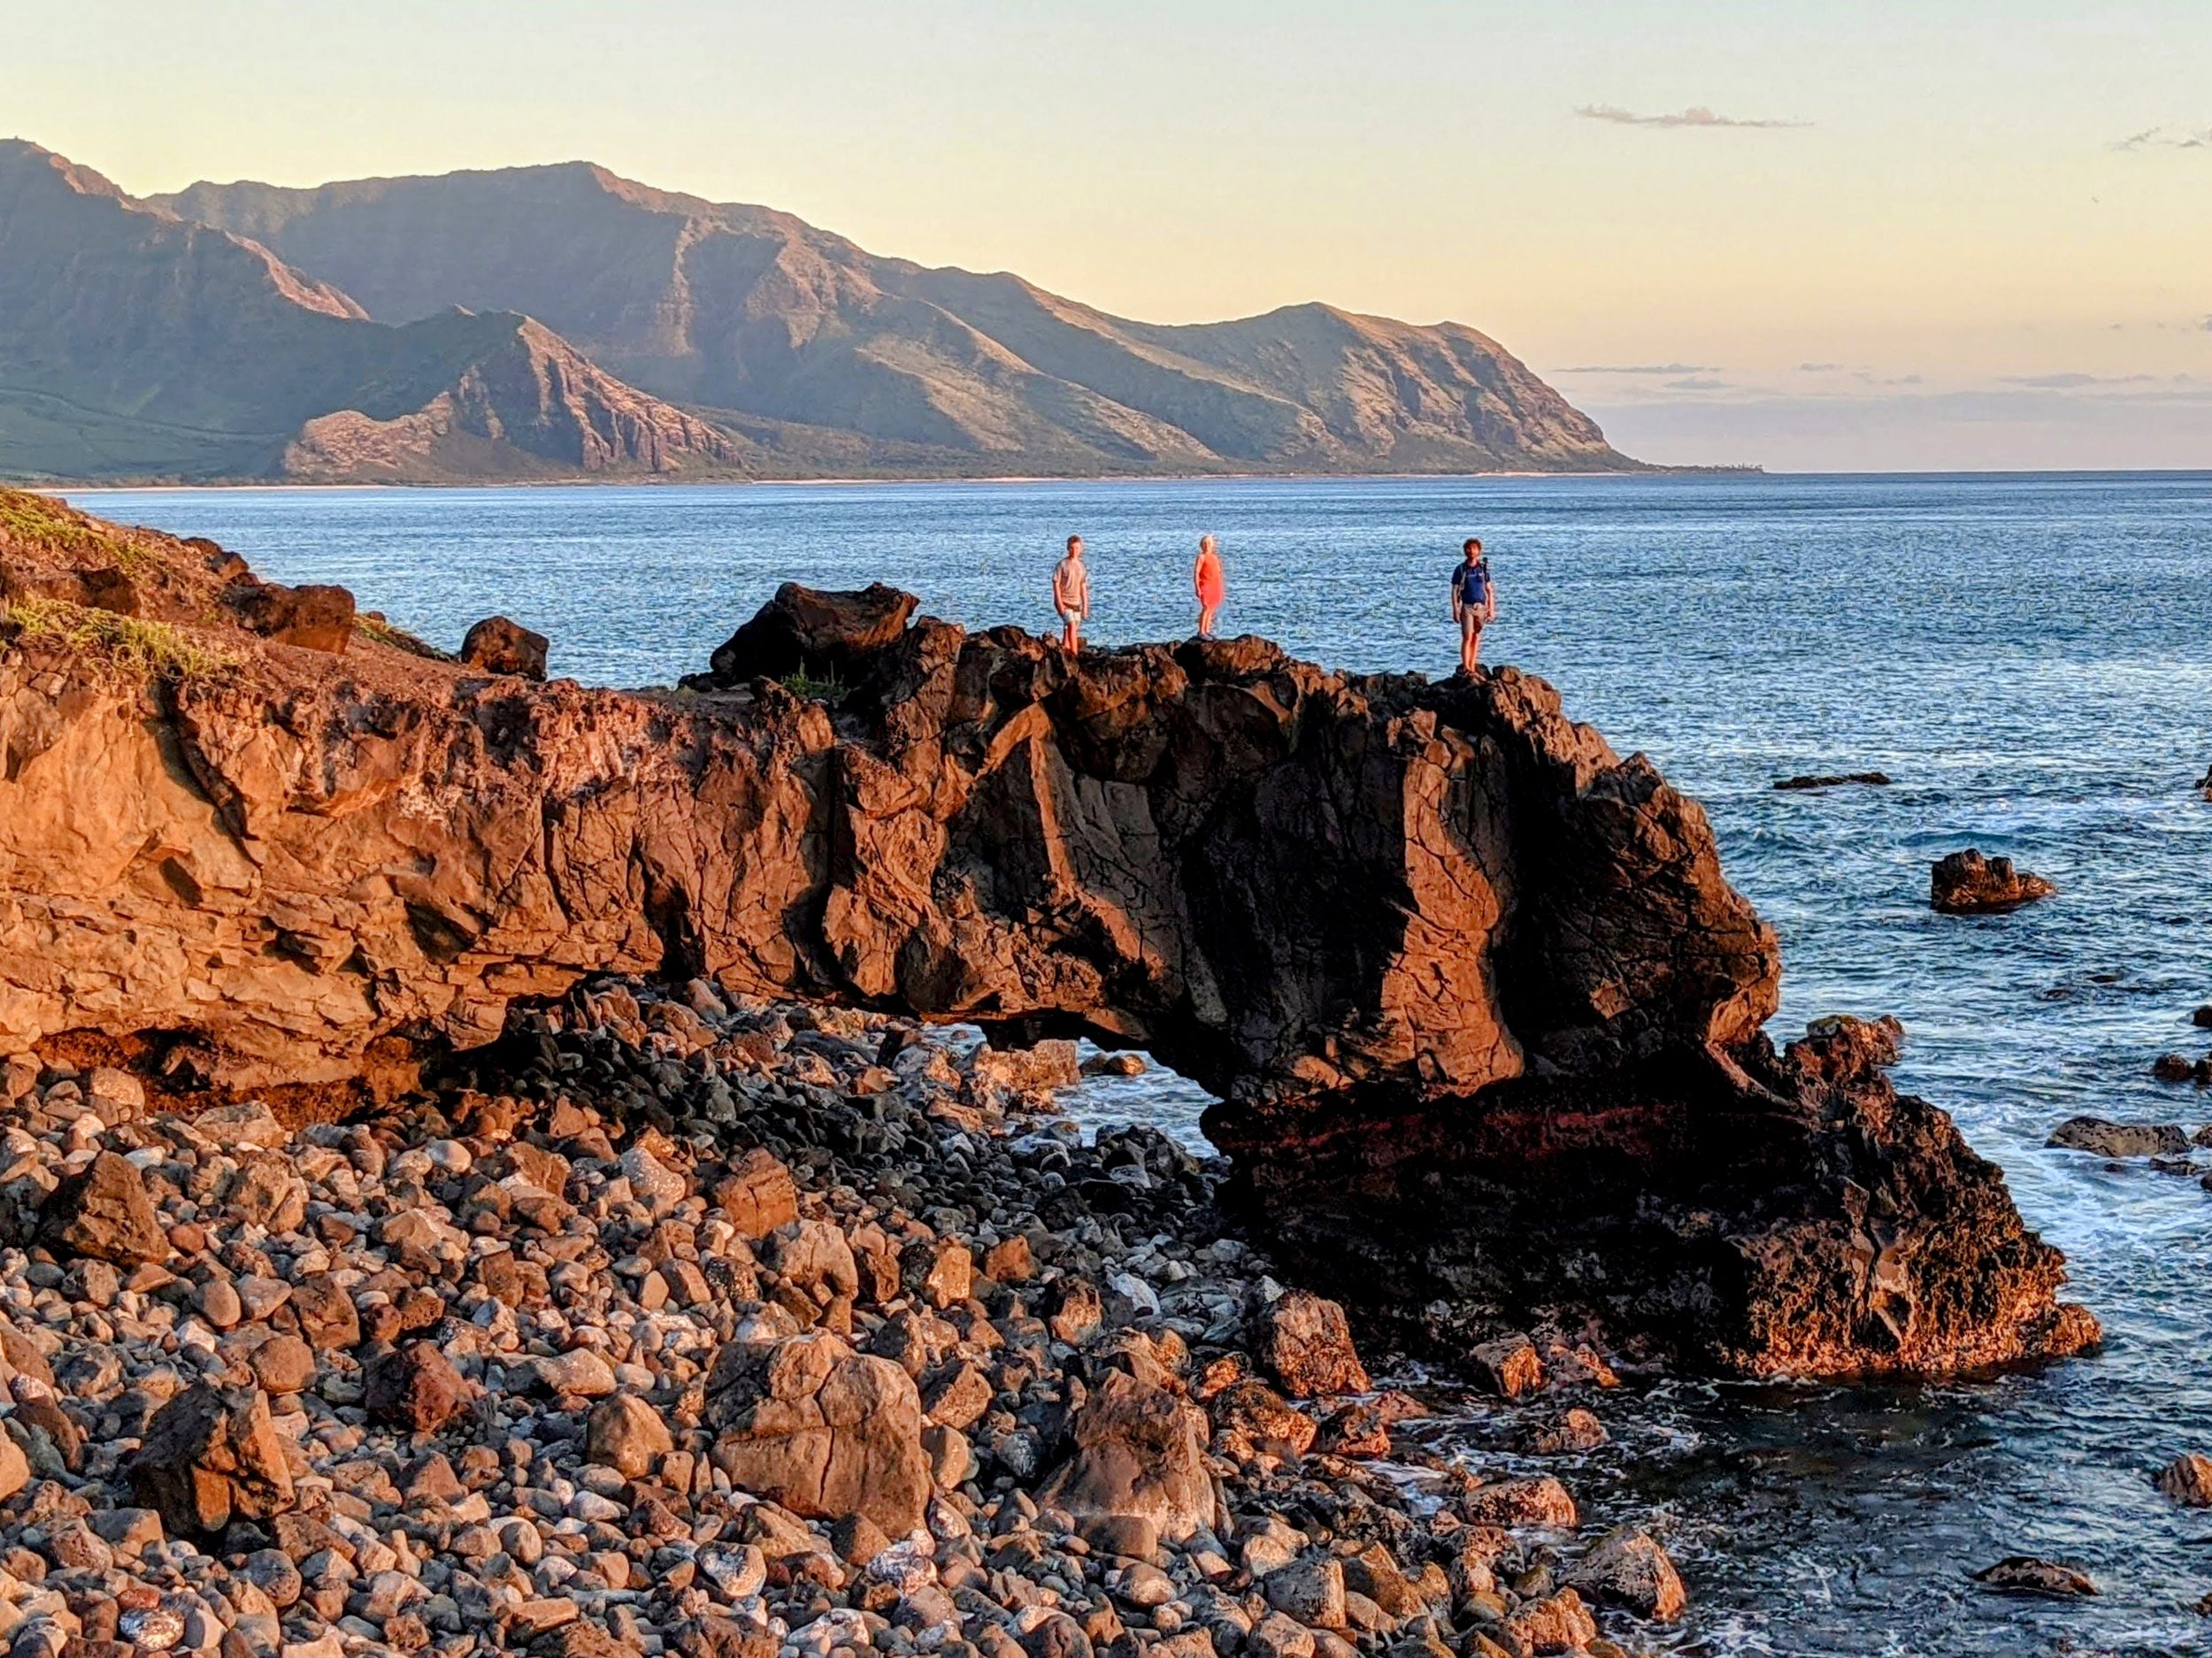
Gus Taking a Break Looking Out Over the Na’Pali Coast
I would not consider doing this hike with a kid under the age of 8. Very adventurous, tough, physically fit kids between the ages of 8-12 could do the hike. Fit and experienced kids over the age of 12 should be able to do it with proper guidance.
Should you just do the hike to Hanapaki’ai beach?
The shorter, and much easier (but still moderate) hike to Hanapaki’ai beach has the advantage of giving you a nice peak at hiking the Na’Pali coast. The trail has great views of the coastline, but the beach itself is a low payout destination. It is rocky and dangerous and you should not swim there. The views from the beach are nothing spectacular. If you think you can tackle the falls trail, I would recommend doing the whole thing instead of stopping at the beach. If you cannot, the shorter trail is a decent way to see the Na’Pali coast.

Massive Waves Breaking On the Boulders at Hanapakiai Beach, No Swimming Here
Tips for the trail
Get your reservations 30 days in advance.
Plan on spending at least 7 hours doing the hike. It took us 7 hours with two 30 minute stops for lunch at the beach and swimming at the falls. If I had it to do over, I would have given us 8 hours so that we could stop and enjoy some other scenic spots along the hike. If you are the type of person who likes to hike as fast as possible to get to the end, you could do the trail in 5 hours. That just isn’t my style. I believe hiking, like life, is about the journey and not the destination and it’s better to allow yourself plenty of time to do the hike. Additionally, they are very serious about closing times in Hawaii parks and will not hesitate to lock you in. The parking lot closes at 6:45 and the last shuttle runs at 5:30.
Wear sturdy hiking shoes and pack a light pair of water shoes for the falls. I am an avid Chaco wearer and will hike moderate trails in chacos, but I would not hike this trail in water shoes. You really need the extra ankle support on this trail and the mud is thick and gooey. I packed light water socks for us to wear at the falls and for playing in the creek. The rocks at the falls were sharp and I was glad we had them.
If you have a water bottle with a filter, you could easily cut your pack weight by bringing enough water to get to the beach and then filtering water from the stream throughout the hike inland to the falls.
Do not do this hike in flash flood conditions, during heavy rains, or if the stream looks scary at the first crossing.
Do not swim at Hanakapi’ai beach.
Pack plenty of snacks because this trail takes lots of energy.
Final thoughts
I truly loved this trail. If you are up for a challenge, it is worth every step. It was a great trail for our active and experienced 9 and 14 year old boys, but I would not recommend taking young kids or kids without hiking and creeking experience on this hike. Just know what you are getting into, give yourself plenty of time, and be prepared.